


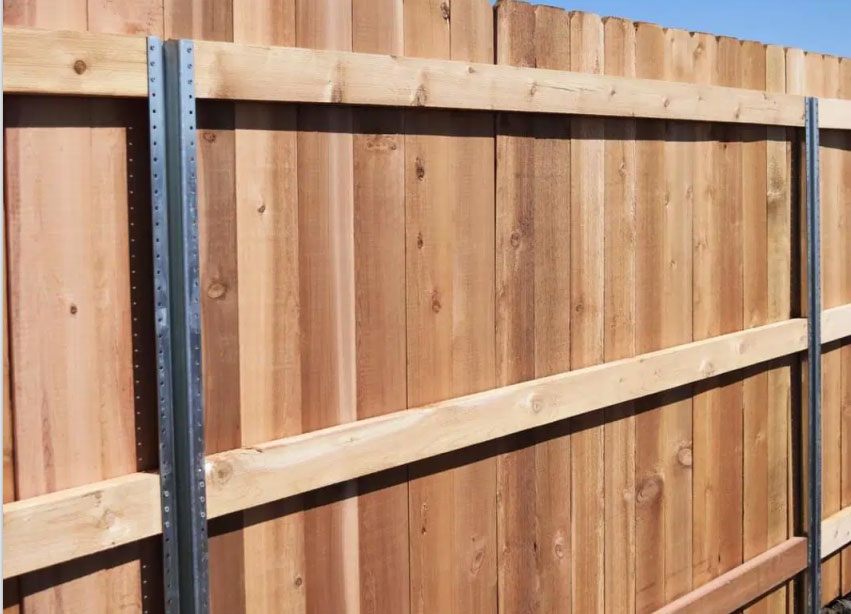
Installing a wood fence with metal posts is an excellent way to combine the natural beauty of wood with the strength and durability of metal. Metal posts offer better resistance to rot, pests, and weather damage compared to traditional wood posts. Here’s a comprehensive guide to help you install a wood fence with metal posts.
Materials You Will Need:
- Wood fence panels or boards
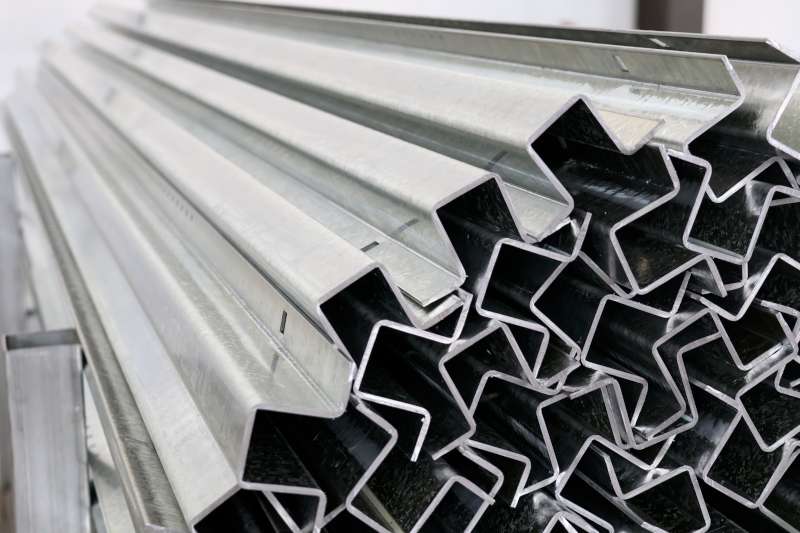
- Metal fence posts (galvanized steel is common)
- Concrete mix
- Metal post brackets or clips
- Screws or bolts
- Drill
- Tape measure
- Level
- Post hole digger or auger
- String line and stakes
- Gravel
Step-by-Step Instructions:
1. Plan and Measure the Fence Line
Begin by determining the area where you want to install the fence. Mark the location of each post using stakes, and run a string line between them to ensure the fence will be straight.
- Post Spacing: Typically, posts are spaced 6 to 8 feet apart.
- Check Local Regulations: Ensure you comply with local zoning laws and HOA rules.
2. Dig the Post Holes
Using a post hole digger or an auger, dig holes for the metal posts. The depth of the holes should be about 1/3 of the total post height, plus 6 inches for gravel.
- Post Depth: Usually, holes should be at least 2 to 3 feet deep, depending on your fence height and local frost line.
3. Set the Metal Posts
Place 6 inches of gravel at the bottom of each hole to help with drainage. Position the metal posts in the center of each hole and pour concrete around them to secure them in place.
- Level the Posts: Use a level to ensure the posts are perfectly vertical.
- Allow Concrete to Cure: Wait at least 24-48 hours for the concrete to fully cure before attaching the wood panels.
4. Attach Metal Brackets to the Posts
Once the posts are secure, attach metal brackets or clips to the posts. These brackets will hold the wood fence panels in place. Make sure they are aligned at the correct height and level across all posts.
- Use Corrosion-Resistant Brackets: To prevent rusting, use brackets made from galvanized or stainless steel.
5. Install the Wood Panels or Boards
With the brackets in place, attach the wood panels or individual boards to the metal posts using screws or bolts. If using individual boards, ensure they are spaced evenly.
- Pre-drill Holes: To avoid splitting the wood, pre-drill holes before inserting screws.
- Check for Alignment: Make sure the wood panels are level and properly aligned as you install them.
6. Secure and Finish the Fence
Once all the panels or boards are installed, check the entire fence for alignment and stability. Tighten any loose screws and make final adjustments if necessary.
- Apply a Protective Finish: If desired, apply a wood sealer or stain to protect the wood from weathering and extend its lifespan.
Tips for Success:
- Use High-Quality Metal Posts: Galvanized steel posts resist corrosion and are ideal for long-term durability.
- Double-Check Measurements: Ensuring accurate measurements will save time and prevent rework.
- Consider Privacy: If you want more privacy, install the boards closer together or opt for solid wood panels.
Post time: Sep-12-2024